Food Storage For Beginners
Food Storage isn’t something to be scared of or look at as this daunting uphill battle. Every day you can make small changes to being more prepared for emergencies in the future.

Making a Plan
I have used this plan in the past very successfully it is simple, easy, and affordable for Food Storage for Beginners. Each week you will spend about $5 extra on your groceries for items to add to your Food Storage. This will give you roughly one year worth of food for 2 people, if you are single you will have enough for two years. If you have more members in your family you will just add to that. $5 weekly investment in Food Storage is cheaper than one seasonal Pumpkin Spice Latte.
So this week we will be getting 6 lbs of salt. One familiar container of Morton’s salt is 1 lb and costs about 84c each at Walmart. I get mine from Aldi’s and that is 40c each. You can spend $5.04 for Mortons or $2.40 for the Aldi brand, in total, either way, that’s up to you. I myself would save the $2.64 for my food storage piggy bank.
Setting aside the money for Food Storage will not just be an exercise in Emergency Preparedness but an investment in your mental & emotional well-being. When you are prepared you can relax, worry less and handle an emergency, crisis, or stress much more easily. Because when you are prepared you are less fearful because you have planned ahead and planned for this, in essence already mentally gone through this worst-case scenario.

Why do I need this?
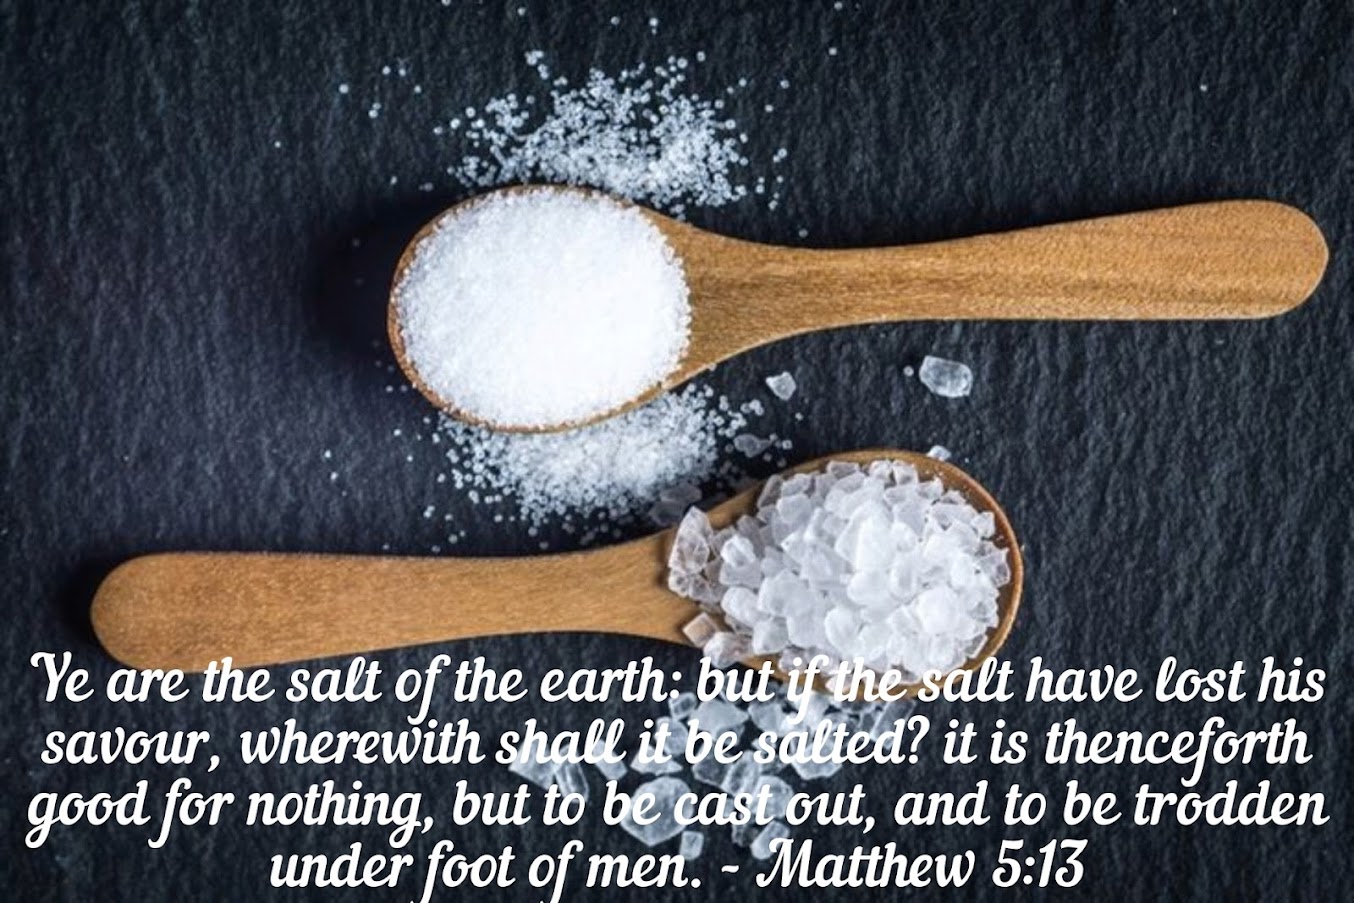
Salt is actually a very important nutrient for the human body. Your body uses salt to help you stay hydrated, promote good vascular health, balance electrolytes, prevent muscle cramping, support a healthy nervous system, and improve your sleep. Salt not only balances fluids in the blood and maintains healthy blood pressure, but is also essential for nerve and muscle function.
Studies are finding that salt has many benefits in the body, which include increased body water conservation, which makes you less thirsty – the opposite of what many of us grew up learning. This means that your body can prioritize its salt levels, which has been shown to help manage your metabolism in a positive way.
Salt plays a crucial role in maintaining human health. It is the main source of sodium and chloride ions in the human diet. Sodium is essential for nerve and muscle function and is involved in the regulation of fluids in the body. Sodium also plays a role in the body’s control of blood pressure and volume. Chloride ions serve as important electrolytes by regulating blood pH and pressure. Electrolytes are compounds, often salts, which dissociate into their ionic components in solvents like water. Chloride is also a crucial component in the production of stomach acid (HCl). Humans excrete salt when sweating and must replenish these lost sodium and chloride ions through their diet.
All of this to say salt is pretty important for your body. To read more about the benefits of salt I recommend these articles where I got this information.
Weird Science: Salt is Essential to Life
5 Reasons Why Salt is Good for You According to Medicine
6 things you thought you knew about salt that just aren’t true

Let’s get salty
If you look at the above articles there are many types of salt and just like most things meant for human consumption, there are good, better, and best ones. And some you might want to avoid all together. Let’s go through them from Fair, Good, Better, and Best Salt options for Food Storage for Beginners.

Table Salt: FAIR
Table salt, sodium chloride (NaCl), is a naturally occurring mineral essential for all animal life.

Sea Salt: GOOD
Sea Salt contains a small amount of natural iodine, although not nearly as much as iodized table salt. It is typically much less refined than table salt and comes in both fine and coarse varieties. Sea salts contain many more beneficial minerals and taste better to most people.

Celtic Sea Salt: BETTER
Celtic sea salt naturally contains 34 trace minerals, however, while refining it more, beneficial minerals are added to it. The concentration of sodium in Celtic salt has about 33% sodium, which is lower because of the brine water present in Celtic sea salt and the chlorine is about 51.9%. The Grey Sea Salt is harvested by traditional Celtic methods using a paludier, a craftsman salt harvester.

Pink Himalayan Salt: BEST
The pink Himalayan rock salt is rich in minerals, containing all 84 essential trace elements required by your body. This salt can assist in many bodily functions, such as reducing muscle cramps, promoting blood sugar health, and promoting healthy pH in your cells. The Himalayan pink salt contains about 98 % sodium chloride.
To read more about the differences between Grey Salt and Pink Salt I recommend this article.
Celtic Sea Salt vs Himalayan Salt – Which One is Healthier?

How to Store It
So you’ve read the pros and cons of each type of salt and know which one you are going to stock up on for your Food Storage for Beginners. I might suggest having a variety of salts instead of just one. Knowing what you reach for the most often and prefer will be your guiding light. I have all of them in my pantry. But I stock up on the most affordable one which is the iodized table salt.
So now you got 6 lbs of salt, how are you going to store this much salt? The main thing is you want to keep it dry, moisture is going to be your enemy. I grew up in a very dry climate, hot and dry to be exact. But since moving to the Northeast I am finding food storage a bit more challenging when it comes to keeping things dry. The humidity here causes condensation and then mold. So I am always researching how to prolong the shelf life of our food items. After all, you don’t want to invest all this money into your Food Storage only to see it all rot and mold away.
The article I found most informative suggests a Ceramic, Clay, or Glass container with an air-tight plastic lid. Storing this in a cool dry place will prolong the life of your salt. I assume you can use canning jars as long as you use rubber seals with plastic caps such as Harvest Guard. The metal one will corrode over time from the salt and moisture fluctuations in the environment.
Why and How to Store Salt on Long Term

Ways to use it
Salt historically was used in food preservation such as meats, fish, and pickling. High amounts of salt can actually prevent the growth of bacteria that can cause foods to go bad. I have even read about preserving eggs in salt, though I have never tried this, so I can’t recommend this. But the main three ways I know of and have used in the past are for making beef jerky, smoked salmon, and loads of pickling.
As I no longer eat meat or fish I would suggest doing a search on what types of meats or fish you plan on preserving and following reputable sites and their instructions. As for pickling, it is really easy to do and fun. Whether you choose to do a quick pickle for the refrigerator or processing via canner for the shelf I recommend Ball Canning as they are a long-time trusted resource in the home canning community.
Aside from the above-mentioned uses, salt also can be used for a variety of Household, Garden, Personal Hygiene, and First Aid applications. From removing stains to deterring pests, to homemade mouthwash, to treating bug bites, sunburn, or sore throat. Salt has a variety of uses that you may have never thought of. Here are 60 Uses for Salt.

Got the deets now what?
Years ago I read in Backwoods Home magazine an article you can still read online for free titled “Start your food storage on $10 a week.” Though I used this format in the beginning I found another on an LDS prepper page that is no longer secure. But I did find the page where they reshared the list that the LDSprepper made, you’ll have to copy and paste for now as I am still trying to figure out how to get a printable widget on here for you all to make it easier. “How to Build Your Food Storage On Only $5 a week.”
He breaks it down to week-by-week shopping so you just add that to your weekly shopping and put it away in your food storage or pantry. By the end of the year, you will have accumulated a year’s supply of food for 2 people. If you do use any of the items in your food storage just make sure you replenish what you use. And rotate putting the new in the back and pushing the older to the front.
So in the coming weeks, I will be sharing every week what I am getting for my family’s food storage and information I find helpful in understanding its usage, benefits, and ways to store it to make it last. So come back each week and I will continue to share my family’s journey in starting Food Storage for Beginners. In the meantime here is a family recipe for refrigerator pickled radishes also known as Tsukemono.

Daikon (Radish) Tsukemono - Japanese Pickles
Ingredients
- 1 gal radishes
- 3 cups water
- 3 cups sugar
- 1/2 cup salt
- 3/4 cup vinegar
Instructions
- First, wash your radishes well to remove any dirt or debris. Slice thinly, rinse well, then cover with water and add a handful or two of salt. Let sit in the refrigerator overnight.
- The next day drain and rinse your radishes really well. I usually cover with water and drain them 3x's myself.
- Make the syrup: Put all ingredients in a saucepan and bring to a boil. Lower heat once it comes to a boil and let it simmer for 15 minutes.
- While the syrup is simmering, sanitize your jars. Wash and rinse with hot water and then sanitize in a boiling canner for 10 mins. Sterilize your rings and lids by pouring boiled water over them and let them sit in there till you are ready to use them.
- The final rinse of the radishes should be with hot water to reduce some of the radish smell and sharpness. You will then pack the hot radishes in the hot sanitized jars and cover with the syrup within a "1/2 in from the top. Wipe rims, place seal and ring on top and be sure to not over tighten the ring.
- Now you can leave these on the counter to cool and store in the fridge. They are great over hot rice with seaweed, delicious with fish, and give an amazing crunch to sandwiches. Try them out and let me know what you think.
About The Author
Sandra
Related Posts

The Frugality of Fats
“Fat gives things flavor!” – Julia Child The Story of Shortening Fats have…
April 12, 2022
Marvelous Macaroni & Cheese
“All middle-income families use carbs to stretch meals, across any ethnic group –…
January 24, 2022